


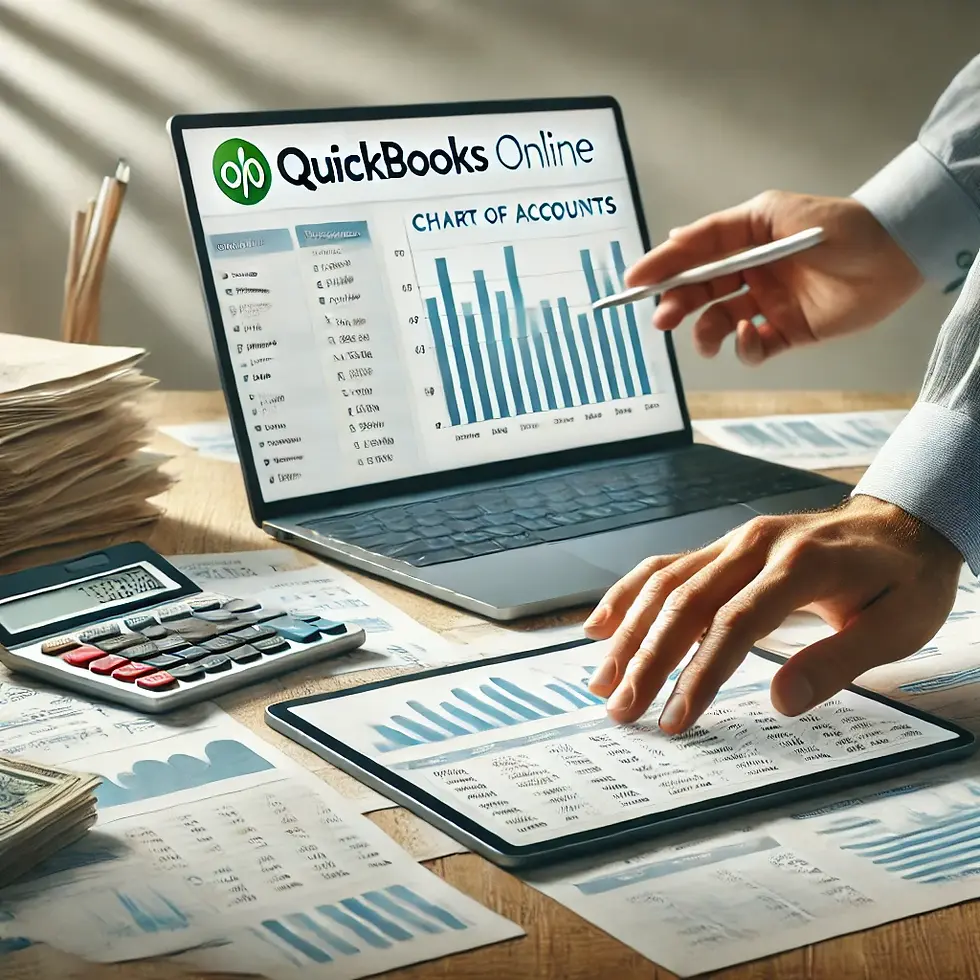
Understanding Features and Functions in QuickBooks Online (QBO)
- Charles Stoy
- Aug 11, 2024
- 3 min read

Hey there! Ready to get the hang of QuickBooks Online (QBO)? It’s like learning to navigate a new phone – once you know where everything is, it’s super handy. Here’s a guide to help you understand and use the main features and functions.
1. Dashboard Overview
Log In:
Open QuickBooks Online and log in with your email and password.
Explore the Dashboard:
The dashboard is like your homepage. It gives you a snapshot of your business finances, showing things like income, expenses, and profit and loss.
Take a few minutes to click around and see what’s displayed. It’s your command center!
2. Navigating the Menus
Left-Hand Menu:
On the left side, you’ll see a menu with options like “Dashboard,” “Banking,” “Sales,” “Expenses,” “Projects,” and “Reports.”
Click on each to explore what’s inside. This is where you’ll do most of your work.
Settings Gear Icon:
In the top right corner, there’s a gear icon for settings. Click it to access account settings, manage users, and customize forms.
It’s like the settings menu on your phone – super important for getting things just right.
3. Managing Sales and Customers
Sales Menu:
Click on “Sales” in the left-hand menu. Here, you can create and manage invoices, estimates, and sales receipts.
Click “Customers” to see a list of your customers. You can add new ones by clicking “New customer.”
Creating an Invoice:
Click “Create Invoice.”
Fill in the customer details, date, and items or services sold.
Click “Save and send” to email the invoice directly to your customer. Easy peasy!
4. Tracking Expenses and Vendors
Expenses Menu:
Click on “Expenses” in the left-hand menu. Here, you can manage your bills, expenses, and vendors.
Click “Vendors” to see a list of your suppliers. Add new vendors by clicking “New vendor.”
Recording an Expense:
Click “New transaction” and select “Expense.”
Fill in the details like vendor, date, amount, and what the expense was for.
Click “Save and close” to record it. Keeping track of expenses helps you know where your money is going.
5. Banking and Reconciliation
Banking Menu:
Click on “Banking” in the left-hand menu. If you haven’t linked your bank account yet, do it now. It will automatically import your bank transactions.
Review the transactions and categorize them correctly. For example, match a deposit to a sales receipt or an expense to a bill.
Reconciliation:
Click on “Reconcile” under the “Accounting” menu.
Choose the account you want to reconcile (like your checking account).
Compare the transactions in QBO with your bank statement and make sure they match. This helps ensure your records are accurate.
6. Running Reports
Reports Menu:
Click on “Reports” in the left-hand menu. QBO offers a variety of reports to help you understand your business finances.
Start with basic reports like “Profit and Loss” and “Balance Sheet.”
Customizing Reports:
Click on a report to open it. Use the customization options to change the date range, add filters, and adjust how information is displayed.
Click “Run report” to see the updated version. You can save, print, or export reports as needed.
7. Managing Employees and Payroll
Payroll Menu:
If you have employees, click on “Payroll” in the left-hand menu. You’ll need to set up payroll before you can use it.
Follow the setup guide to add employee details, set up pay schedules, and connect a bank account for direct deposit.
Running Payroll:
Once set up, click “Run payroll.”
Enter the hours worked, review the payroll summary, and submit it. Employees will get paid, and QBO will handle the tax calculations for you.
8. Projects and Time Tracking
Projects Menu:
Click on “Projects” in the left-hand menu to manage specific projects and track related income and expenses.
Click “New project” to create a new one. Add details like the project name, customer, and start date.
Time Tracking:
If you or your employees track time worked on projects, click “Time” in the left-hand menu.
Click “New time activity” to log hours worked. You can link these hours to specific projects or customers.
Conclusion
And there you have it! Understanding these features and functions will make managing your business in QuickBooks Online a breeze. Take your time exploring each section, and don’t be afraid to experiment. If you get stuck, there are plenty of tutorials and support options available. You’ve got this!


Comments